Chimney cap installation is a crucial step in protecting your home from potential hazards, such as water damage, debris, and animal intrusions. Not only does a well-fitted chimney cap enhance the efficiency of your chimney system, but it also prolongs the life of your chimney by preventing rust, deterioration, and blockages. Proper installation helps to ensure that your fireplace operates safely and effectively, allowing for improved airflow and reduced smoke backdraft. Additionally, selecting the right materials—such as stainless steel or copper—can further enhance durability and performance. Regular inspections after installation will help you catch any issues early, ensuring your chimney cap continues to provide optimal protection. In this article, we’ll provide essential tips and tricks to ensure a successful chimney-cap-installation project.
Understanding Your Chimney Cap
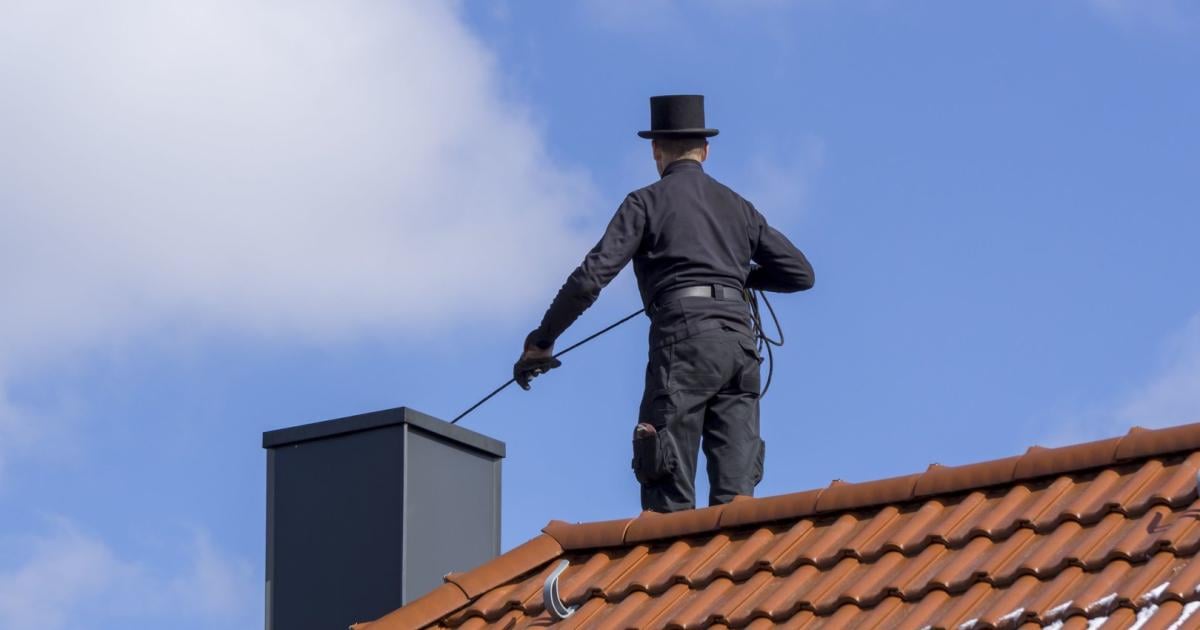
Before diving into installation, it’s important to understand what a chimney cap is and its function. A chimney cap is a protective cover that sits atop the chimney flue. It keeps out rain, snow, and debris, while also allowing smoke and gases to escape. There are various materials available for chimney caps, including stainless steel, copper, and galvanized metal, each offering different advantages.
Selecting the Right Chimney Cap
- Material Choices: Choose a material that suits your climate and budget. Stainless steel is durable and rust-resistant, while copper offers a unique aesthetic appeal that develops a patina over time.
- Size and Fit: Measure your chimney flue accurately to ensure a snug fit. A cap that is too small won’t provide adequate protection, while one that’s too large may not sit securely.
- Style: Consider the design of the cap. Some chimney caps come with mesh screens to exclude animals and debris, while others may simply cover the flue. Choose a style that fits your needs.
Preparation Before Installation
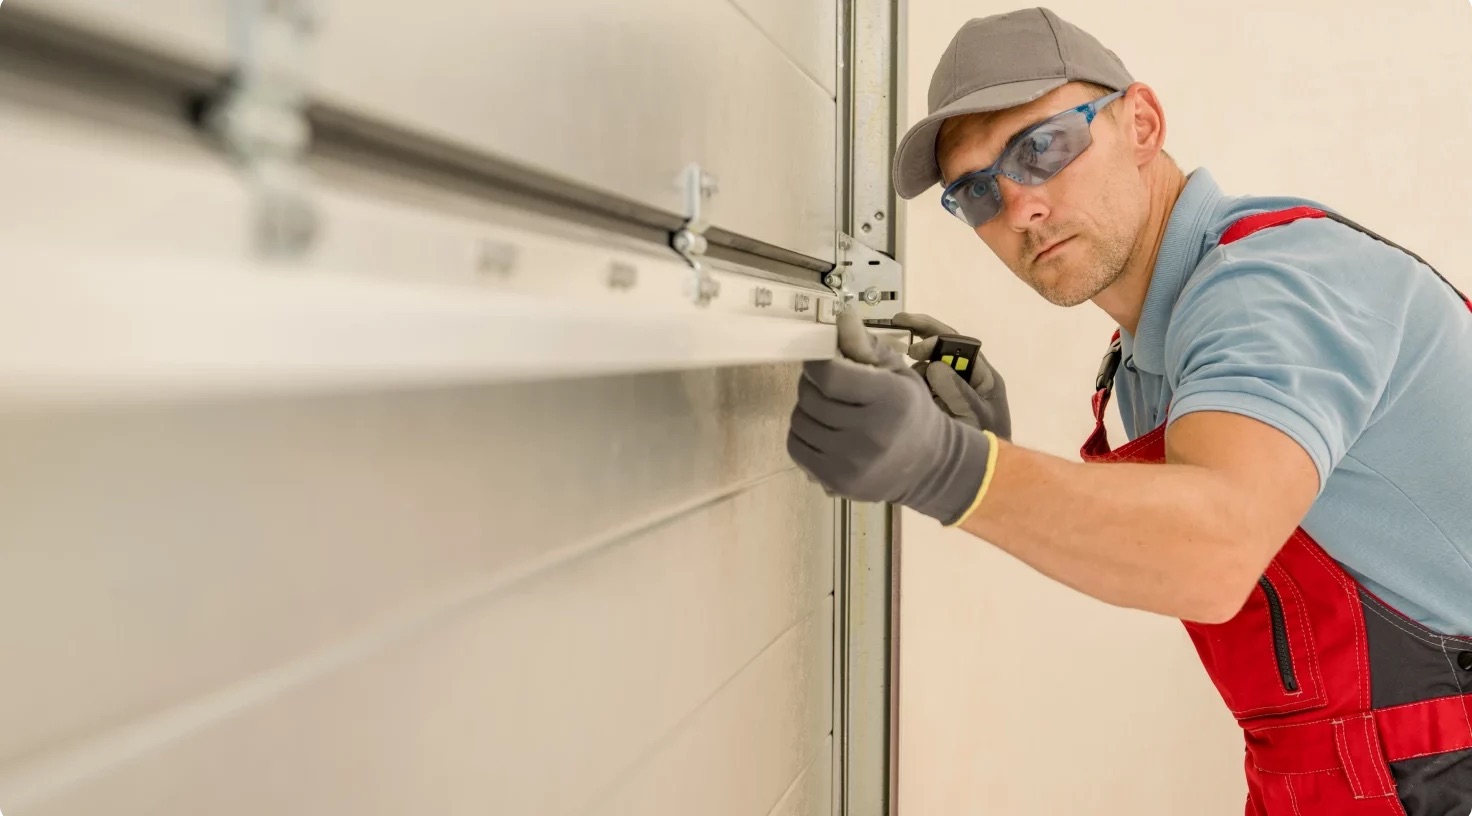
- Gather Tools and Materials: You’ll typically need a ladder, a measuring tape, a level, screws or anchors, a drill, and safety gear (gloves and goggles).
- Check the Weather: Choose a clear day for installation to avoid slipping or accidents. Windy or rainy conditions can make the process dangerous.
- Inspect the Chimney: Before installing the cap, check the chimney for cracks or damage requiring repair. This will ensure that your new cap works effectively.
Step-by-Step Installation Guide
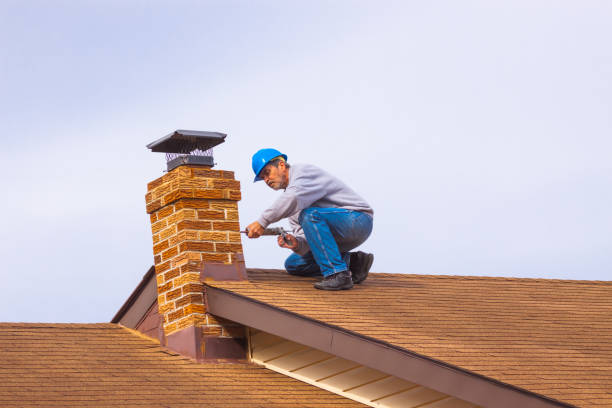
- Safety First: Ensure your ladder is stable and positioned safely against the chimney. Always have a buddy nearby for assistance.
- Position the Cap: Align the chimney cap over the flue. For models with screws or anchors, make sure it is centered and level.
- Secure the Cap: Attach the cap using screws or anchors, following the manufacturer’s instructions. Ensure that it is tightly secured to withstand wind and other elements.
- Seal if Necessary: Depending on your cap model, consider adding a silicone sealant around the edges to prevent water ingress.
- Final Checks: Once installed, double-check the alignment and stability of the cap. Make sure it fits snugly and isn’t loose or wobbling.
Post-Installation Maintenance
After installation, regular maintenance of your chimney cap is essential. Inspect it periodically for signs of wear or damage, especially after severe weather. Clean the cap to remove any buildup of soot or debris that could obstruct airflow. If you notice any issues, such as rust or cracks, address them promptly to ensure ongoing protection.
Conclusion
Chimney cap installation is a straightforward yet vital home improvement task that can save you time and money in the long run. By selecting the right materials, taking proper safety precautions, and following the outlined steps, you can successfully install a chimney cap that protects your home and enhances your chimney system’s efficiency. With these essential tips and tricks, you’re well on your way to a successful chimney-cap-installation project!
Read more… Chimney Sweep


Leave a Reply