Garage door panel repair is an important aspect of maintaining your home, yet one of the often-overlooked components is the garage, specifically the garage door. A crucial part of this system is the garage door panels, which can sustain damage from various factors such as weather, accidents, or wear and tear. Garage-door-panel-repair can seem daunting, but with the right approach, you can tackle it with confidence and ease. This article will provide you with essential tips for ensuring a smooth and efficient garage door panel repair process.
Assess the Damage
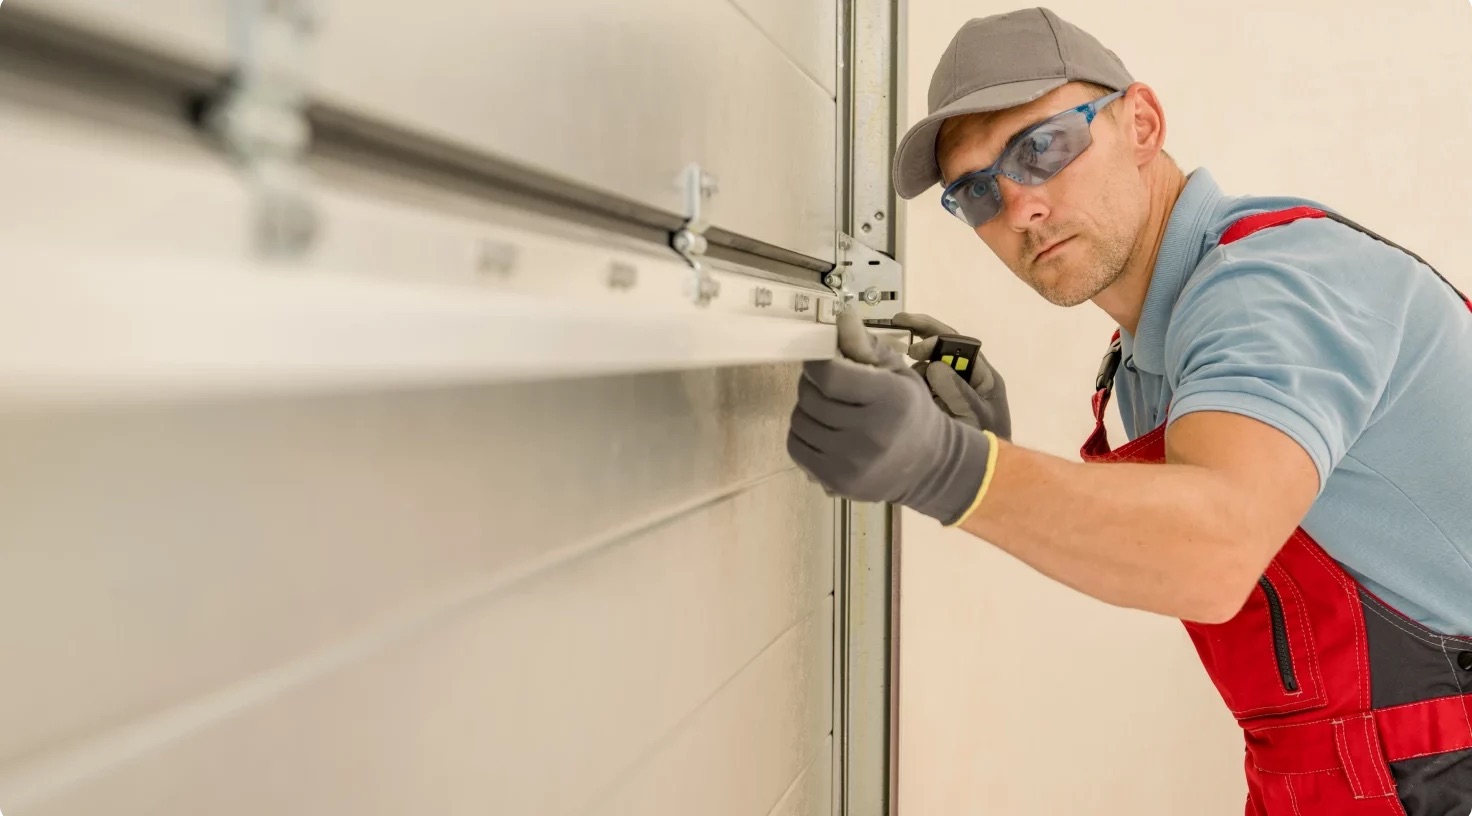
The first step in the garage door panel repair process is to inspect the damage. Look for dents, cracks, or any signs of rot, especially if your panels are made of wood. Understanding the extent of the damage will help you determine whether you can simply repair the panel or if a full replacement is necessary. If you only notice surface-level flaws, a straightforward repair may suffice.
Gather Your Tools
Once you’ve assessed the damage, it’s time to gather the necessary tools and materials. For most garage-door-panel-repair tasks, you will likely need:
- A screwdriver or drill
- Pliers
- A putty knife
- Wood filler or epoxy (for wooden panels)
- Replacement panels (if needed)
- Paint or wood stain (to match the existing panels)
Having everything on hand will reduce delays and make your repair process more efficient.
Remove the Damaged Panel
If a panel is beyond repair and needs replacement, carefully remove it to prevent further damage to surrounding panels. Depending on the door’s design, this may involve unscrewing the hinges or detaching it from tracks. Make sure to follow the manufacturer’s guidelines or consult repair manuals specific to your door type.
Repair or Replace
For minor damage such as small dents or scratches, you might be able to simply fill in the area with wood filler or epoxy. Once applied, smooth it down with a putty knife and let it dry completely. For serious damage, like cracks, you may need to replace the entire panel. When installing a new panel, ensure it matches the existing design both functionally and aesthetically.
Repaint and Finish
If you’ve made any repairs, you’ll likely need to repaint or stain the panel to maintain a uniform look with the rest of the door. Use high-quality, weather-resistant paint or stain to protect against the elements. Allow sufficient drying time to ensure your garage door not only looks good but is also safeguarded from future damage.
Test Your Garage Door
After completing your garage-door-panel-repair, it’s crucial to test the door. Open and close it multiple times to ensure everything operates smoothly. Listen for any unusual noises and check that the door tracks align properly. If you encounter any issues, it may be best to consult with a professional to address alignment or mechanical problems.
Regular Maintenance
Finally, regular maintenance is key to prolonging the life of your garage door panels. Periodically inspect them for wear and tear, and address any issues as they arise. Lubricate moving parts, and clean the panels to remove grime and debris, ensuring your garage door system remains in optimal condition.
In conclusion, executing effective garage door panel repair doesn’t have to be an overwhelming task. By assessing the damage, gathering the right tools, and following a structured approach, you can ensure a high-quality repair. With these tips, your garage door will not only look great but operate smoothly for years to come. Remember, a well-maintained garage door enhances your home’s curb appeal and provides security for your belongings. Don’t hesitate to seek professional help if the damage is beyond a simple repair, ensuring safety and optimal functionality. Ultimately, investing time and effort into your garage door will pay off, allowing you to enjoy a dependable entrance to your home.
Read more…. Garage Door Repair


Leave a Reply